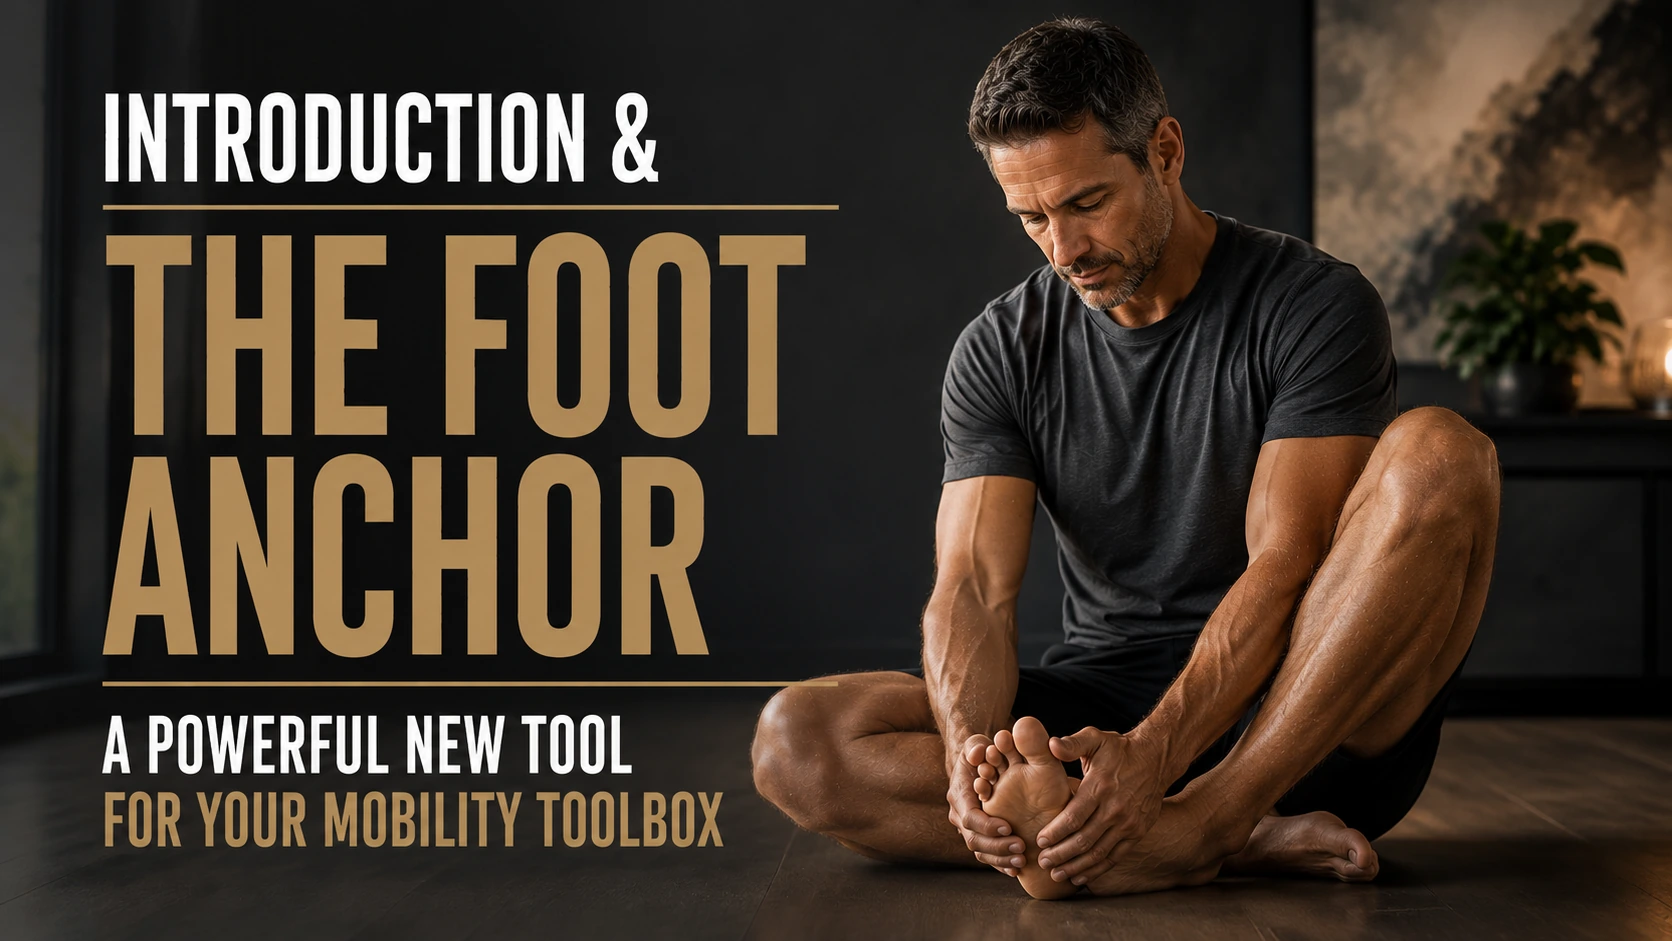
A powerful new tool for your mobility toolbox
(Read safely!)
Over the past few months, we have spent time honing and practicing our foundational myofascial stretches and openers. Together, we have unlocked incredible ways to alleviate daily aches, melt away stubborn stiffness, and fundamentally enhance how your body moves.
We wrapped up our last series focusing on the massive structural benefits of backward walking and backward cycling. If you’ve been doing them, you’ve already noticed how they rewrite your joint tracking, unload your knees, and wake up neurological pathways that normal forward movement ignores.
Today, we are officially adding a brand-new, incredibly powerful tool to our mobility toolbox: The Wringing Technique.
Think of your muscle fascia like a sponge. When a sponge gets dry, stiff, and compressed, pulling it from both ends doesn't do much to restore its pliability. But when you twist and wring it out, you instantly change its internal pressure, force fresh fluid into the fibers, and break up the sticky restrictions between tissue layers.
By manually gripping and twisting the superficial tissue in a specific direction before you move a joint, you create a mechanical shear. This tells your brain it is safe to release deep-seated muscle guarding. The result? Immediate lightness, lasting pain relief, and fluid mobility.
Over the next several weeks, we are going to travel through a master directory of the body, applying this technique zone by zone. Let's kick things off right at your absolute foundation: the arch of the foot.
Safety First: When NOT to Wring
Safety Boundaries
Before you try this technique, please review these essential safety boundaries. Skip fascial wringing on a specific body part if you are currently experiencing any of the following in that area:
Acute Trauma: Open wounds, recent fractures, severe bruising, or brand-new sprains (under 48 hours old).
Circulatory Issues: Deep vein thrombosis (DVT), severe varicose veins, or unexplained localized swelling.
Skin Infections: Rashes, open sores, or active skin flare-ups.
Numbness or Tingling: If any technique causes sharp, shooting nerve pain or makes your limb go numb, stop immediately.
Week 1 Protocol: The Plantar Fascia & Achilles Base (The Foot Anchor)
The Target Area: Plantar aponeurosis, abductor hallucis, and the distal insertion of the Achilles tendon network.
The Setup: Sit comfortably on a chair. Cross one ankle over your opposite knee so you can easily access the sole of your foot with both hands.
[BLUE ARROWS = Hand Twist Direction] ──► Twist Arch Tissue OUTWARD (Away from Big Toe)
[GREEN ARROWS = Active Limb Movement] ──► Pull Your Toes and Ankle UP Toward Your Shin
Step-by-Step Instructions:
Take both hands and place your thumbs on the underside of your foot, wrapping your fingers firmly around the top of your foot near the ankle base.
The Wring ──►: Apply broad, firm pressure into the sole of your foot and twist the arch tissue outward, rolling it away from your big toe line toward your pinky toe. Hold that twist securely.
Take a deep, focused breath in for 4 seconds.
The Active Unlock ──►: As you slowly exhale for 8 seconds, actively pull your toes and your entire foot upward toward your shin into deep dorsiflexion, lengthening the bottom of the foot.
The Cues
Use your thumbs to scoop the thick tissue of the arch and peel it away from the inner edge of your foot.
Hold the tissue wind-up taut while you pull your toes back as far as they can go.
Visualize the bottom of your foot broadening and turning completely supple, light, and elastic as you breathe out.
What This Does & How It Adjusts Mobility Positively
This technique directly releases restrictions in the thick plantar fascia and the superficial back line of the body. When the tissue on the bottom of the foot shortens, it acts like a tight anchor that restricts ankle dorsiflexion and forces your calf muscles to remain chronically tense.
Wringing this tissue outward unloads the heel bone, reduces morning foot stiffness, and restores natural shock absorption. It positively adjusts your mobility by immediately expanding your active ankle range of motion, which improves squat depth, keeps your knees tracking perfectly, and allows for an efficient, pain-free stride when you walk.
Safety & Recovery Guidance
Frequency: Perform this safely 1 to 2 times daily, completing 4 to 5 slow repetitions per foot.
Massage Gun Boost: After your active sets, you can run a mini massage gun gently on a low speed along the fleshy center of your arch for 30 to 60 seconds. Avoid using it directly on the hard bone of the heel or pinching the thin skin at the back of the Achilles tendon.
Get ready to experience that immediate difference at your foundation today!
Next week, we move up the chain to open the back of the knee joint with the popliteus and upper calf protocol. Get your hands ready!
To your ultimate movement freedom,
Triomph Fitness, health and wellness
Legal & Medical Disclaimer: The information, techniques, and instructions presented in this email are for educational and informational purposes only. This content is not intended to be a substitute for professional medical advice, diagnosis, or treatment. Always seek the advice of your physician or another qualified healthcare provider with any questions you may have regarding a medical condition. Never disregard professional medical advice or delay in seeking it because of something you have read here. By participating in these exercises, you acknowledge that you do so voluntarily and at your own risk.